
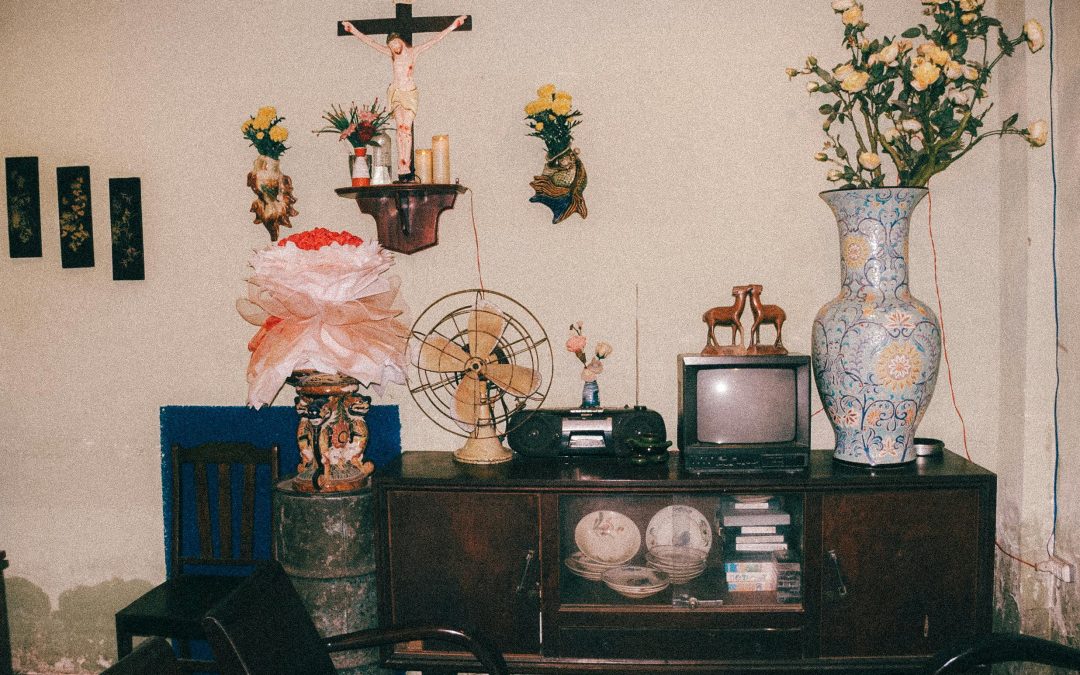
Do you have a beautiful old dresser or coffee table tucked away in your garage, just waiting for a second life? Restoring vintage wood furniture can be incredibly satisfying. You get to bring out the original charm of a piece while giving it a fresh, usable future. And the best part? You don’t have to be a professional to do it right.
In this guide, we’ll walk through how to restore vintage wood furniture using practical, beginner-friendly tips. Whether you found a hidden gem at a flea market or inherited something special from a relative, you’ll learn how to bring it back to life — safely and effectively.
Why Restore Instead of Replace?
Vintage furniture isn’t just stylish — it’s often made better than today’s fast furniture. According to Furniture Today, furniture made before the 1980s often features solid wood and craftsmanship that’s hard to come by now. So, restoring instead of replacing can save money and preserve quality.
Plus, it’s a great way to reduce waste and make your home a little more unique.
Step 1: Assess the Condition of the Furniture
Before you grab the sandpaper or wood stain, take a good look at the piece.
Ask yourself:
- Is the wood solid or veneered?
- Are there signs of rot, termites, or deep cracks?
- Is the piece wobbly or missing parts?
If it’s just scratched or dull, you can handle that with ease. But if it has serious structural issues, it might need professional help — or at least some wood glue and clamps.
Step 2: Clean Off Years of Grime
Vintage wood furniture usually has years of dust, oils, and maybe even old polish sitting on it.
Here’s how to clean it properly:
- Mix warm water with a small amount of mild dish soap.
- Use a soft cloth or sponge to gently wipe the surface.
- Avoid soaking the wood — damp, not wet, is the goal.
- For sticky residue, try a vinegar and water mix or a tiny bit of mineral spirits.
Once cleaned, let the piece dry completely before moving to the next step.
Step 3: Decide Whether to Refinish or Just Refresh
Sometimes, all your furniture needs is a good clean and some polish. But other times, refinishing is the better route.
Refreshing:
- Use furniture polish or paste wax to add shine.
- Touch up scratches with a wood stain marker or walnut (yes, really — the oils help!).
Refinishing:
If the finish is worn out or flaking, refinishing is the way to go.
- Strip the old finish using a gel stripper (safer and less messy than liquid ones).
- Let it sit as directed, then gently scrape off with a plastic scraper.
- Once stripped, lightly sand the surface to smooth it out.
- Always sand in the direction of the wood grain.
Refinishing takes more time but reveals the raw beauty of the wood underneath.
Step 4: Choose a New Finish or Stain
Now for the fun part — giving your furniture a fresh look.
You can either:
- Stain the wood to enhance the natural grain
- Paint it for a bold update (if you’re okay with changing the look)
- Use tung oil or polyurethane for a protective top layer
If you’re staining, do a patch test on an unseen part of the furniture to check the color. Apply in thin layers with a clean cloth or brush and let it dry completely between coats.
Step 5: Final Touches Matter
Once your furniture is clean, smooth, and sealed, it’s time to put on the final details.
- Replace old knobs or handles with something that fits the vintage vibe
- Touch up any minor dents with a wood filler or putty
- Add felt pads under legs to protect your floors
A little effort here makes a big difference in how the piece looks and feels.
One Last Tip: Don’t Aim for Perfection
Part of what makes vintage wood furniture special is its age. Don’t worry about making it look brand new. Tiny nicks, uneven tones, or visible grain tell a story. You’re not just restoring a piece of furniture — you’re preserving its history.
Final Thoughts
Learning how to restore vintage wood furniture can be incredibly rewarding. It’s a creative, hands-on way to keep quality pieces in use while adding character to your home. Start simple, take your time, and enjoy the process. You might find it’s easier and more fun than you expected.
Got an old side table you’ve been ignoring? Maybe now’s the time to give it new life.