
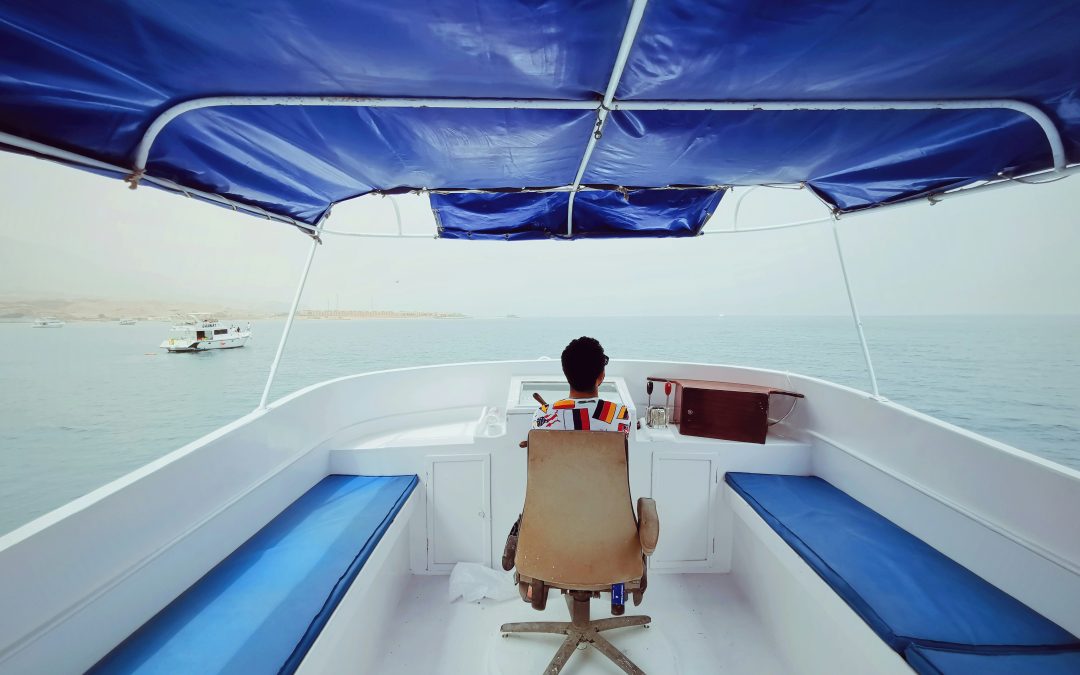
If your boat seats are looking faded, cracked, or worn out, it might be time for a refresh. The good news? You don’t have to spend thousands hiring a professional. With a little patience, the right tools, and some guidance, you can master DIY boat upholstery and give your vessel a fresh, polished look that feels brand new on the water.
Why Try DIY Boat Upholstery
Boat upholstery takes a beating over time—from sun exposure and saltwater to everyday wear and tear. Professional reupholstery can be costly, but doing it yourself saves money and allows you to customize colors, materials, and patterns. According to Boating Magazine, a full reupholstery job can cost anywhere between $1,000 and $3,000, depending on size and materials. A DIY project, on the other hand, can be done for a fraction of that—often under $300 for small to mid-sized boats.
Plus, DIY boat upholstery gives you the satisfaction of craftsmanship. Every stitch, seam, and staple will remind you that you restored your boat with your own hands.
Gather the Right Tools and Materials
Before you begin, make sure you have everything you need. Having proper materials ensures durability, especially since marine environments can be harsh.
Essential tools and supplies:
- Marine-grade vinyl or fabric
- Heavy-duty sewing machine (optional but helpful)
- Scissors and seam ripper
- Measuring tape
- Staple gun and stainless-steel staples
- Foam padding (closed-cell foam works best for water resistance)
- Contact adhesive
- Screwdriver or drill (to remove seats)
- Pliers for removing old staples
Pro Tip: Choose UV-resistant marine vinyl. Regular fabric or indoor materials will fade and crack quickly under the sun.
Step 1: Remove the Old Upholstery
Start by removing the seat cushions and backrests from your boat. Use a screwdriver or drill to detach them from the frame. Take off the old vinyl carefully so you can use it as a pattern for your new fabric.
Use pliers to remove old staples. Be patient—this part takes time, but it’s essential to avoid damaging the seat base or foam underneath. Once removed, check the foam for damage. If it’s still firm and dry, you can reuse it. If it’s soggy, crumbling, or misshapen, replace it with marine-grade foam.
Step 2: Cut and Prepare New Fabric
Lay the old vinyl pieces flat on top of your new material. Use them as templates to trace and cut new pieces. Make sure to add about half an inch of extra fabric around the edges for stretching and stapling.
When cutting, pay attention to the grain or texture direction of the vinyl. Consistency matters—misaligned textures can make the final design look uneven.
If your seat design includes piping or seams, now is the time to cut those strips too. You can buy premade piping or make your own using vinyl wrapped around cord.
Step 3: Sew or Assemble the Pieces
If your seats have seams, sew the vinyl pieces together using heavy-duty thread and a leather or denim needle. A walking-foot sewing machine makes this process much easier, but if you don’t have one, you can glue and staple overlapping sections for simpler designs.
For corner seats or curved cushions, sew darts or small folds to help the fabric stretch smoothly. This keeps the upholstery tight and wrinkle-free once you staple it down.
Step 4: Attach the New Cover
Once your cover is ready, spray a thin layer of contact adhesive on both the foam and the underside of the vinyl. Wait a few seconds for the glue to become tacky, then position the fabric evenly.
Start stapling from the center of each side and work your way toward the corners. Pull the fabric tight but not so much that it distorts the shape. Corners can be tricky—fold them neatly like wrapping a gift and secure them with extra staples.
Use stainless-steel staples to prevent rust. Regular metal staples can corrode quickly in marine environments, leaving ugly stains and weakening the hold.
Step 5: Reinstall the Seats
Once all the pieces are upholstered, reattach the cushions to your boat’s frames. Double-check that all screws and brackets are secure. Give the seats a quick wipe with a damp cloth to remove fingerprints or dust.
You’ll instantly notice how fresh and clean your boat looks. New upholstery can make an old boat feel like it just came off the showroom floor.
Design Tips for a Modern Look
DIY boat upholstery isn’t just about repairs—it’s your chance to upgrade your style. Here are a few ideas:
- Color coordination: Match your upholstery to your boat’s exterior paint or decals.
- Contrasting piping: Add white or black piping around cushions for a professional finish.
- Custom embroidery: Personalize with your boat’s name or logo if you have access to an embroidery machine.
- Two-tone panels: Combine light and dark shades for depth and visual interest.
According to Marine Fabricator Magazine, two-tone vinyl designs have become one of the top trends in 2025 for recreational boats.
Maintenance for Long-Lasting Results
After investing your time and effort, protect your new upholstery with good care habits.
- Wipe seats regularly with a damp cloth to remove salt and sunscreen residues.
- Use a mild soap and water solution—avoid bleach or harsh cleaners.
- Apply UV-protectant sprays every few months to prevent fading.
- Cover your boat when not in use to reduce sun damage.
With proper care, your DIY boat upholstery can last for many seasons, keeping your boat looking sharp and comfortable.
Final Thoughts
DIY boat upholstery may seem intimidating at first, but it’s one of the most rewarding upgrades you can make. With some planning, patience, and attention to detail, you’ll not only save money but also gain a deeper appreciation for your boat. Whether you’re restoring a vintage vessel or refreshing a weekend cruiser, this project is the perfect blend of creativity and practicality.